Power Supplies
For FCC info click here.
Letting out the magic smoke
I have seen many eBay listing stating something like the following:
- "Was testing this and it randomly shorted out."
- "Plugged it in seemed to work then it went Pop and didn't work anymore."
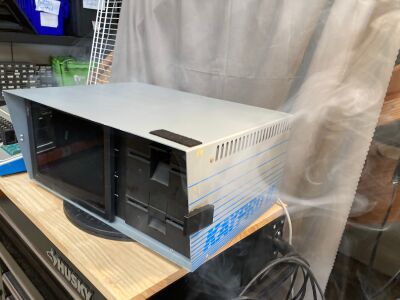
One time I even saw this picture:
99% of the time it is likely that the RIFA filtering caps blew in your machine. This is very likely if the machine has not been serviced in a long time. Use this page and my "A note about Filter Caps" on the page FCC regulations to address this problem.
Mounting Notes
The earliest Kaypro Power Supplies were mounted with the connector on the left side as you look from the front or upside down to most of us. At somewhere between #4222 and #7954 the board was flipped so that the connector was on the right side.
| #4222 and Earlier | #7954 |
Harness Notes
The wiring harness on the very early machines appears to have all white wires on the 10 (or 9) pin connector. This appears on the #2767 and #2775, but my #3590 has black, white, red and green wires as does every later machine does.
| #2767 Photo From Thomas Brase |
#2775 | #3590 |
Cal DC
From the Tech Manual for switching to 220V: Identified by a bright blue circuit board. A white sticker with "California DC", model, and serial number is located on solder side of board.
There are two ceramic power resistors in the upper right-hand corner of the board. These resistors get quite hot during operation. Wiring should be tied down AWAY FROM THESE COMPONENTS.
Locate a jumper block labelled 115VAC and 230VAC. With the jumper in the 115VAC position the board is configured for 110V.
Remove the jumper from the socket labelled 115 VAC and replace it in the socket labelled 230VAC. The power supply is now configured for 220V use.
Boschert
From the Tech Manual for switching to 220V:
Identified by the word "Boschert" on the component side of the board at lower right and above the fuse and capacitor C2.
Locate a six-inch wire that is soldered to point JP1. If the board is configured for 110V, the other end of the wire is attached to point E1 (labelled 110V).
Unplug the wire from point E1 and plug it into E2 (labelled 220V). Point E2 is to the left of point E1. The power supply is now configured for 220V use.
Astec
Astec AA 12350
 |
 |
 |
 |
C13 - 0.01microF (Lead Spacing 1.45/1.21) C-G |
#57145 |
Appears to be related to the Astec AA12090 for an TRS-80
Astec AA 12450
From the Tech Manual for switching to 220V:


